

In this article, part of the new section where we discover the gardens through photos, I will show them and tell you about them landscaping and roof terraces.
They exist above all in large cities, on top of buildings that do not have green spaces or that wish to offer their inhabitants an incomparable view and sunshine.
While I will show you photos that might inspire you, I will explain some principles to respect if you want to embark on the adventure or simply to better understand how this type of garden is organized.
Some technical aspects to respect
It is not possible to install a garden on every roof. Even if yours is flat, that doesn’t mean it can accommodate one.
First you need to know the maximum load per square meter what your roof can support. This will have a big influence on the techniques and materials used!
The other important aspect is to have efficient and resistant sealing in the long term, because once the garden is installed, it is not a question of breaking everything to restore permeability.
In general, for these very technical measures, I advise you to do so call a professional.
The different installation principles
There are two main types of installations for a roof garden:
- The entire roof is covered with a layer of earth and the garden is created as if it were on the ground (see photo n°1).
To do this, the roof must be able to withstand a heavy load. It will also be necessary to provide a drainage system to prevent water from stagnating at the bottom of the earth layer.
- The other way is to do it plantings organized in containers and pots. We therefore only bring soil for the plants.
Two solutions are available to you:- Create large custom containerstherefore the plants benefit from a large volume of soil (see photo n°2).
- Plant each plant in its own pot. It is a very simple solution to create because it does not require major work, but I find that it differs from the «garden» effect, however it is a matter of taste (see photo n°3).


In any case I recommend you install a automatic irrigation systembecause with small volumes of soil and often very sunny exposure, it will dry out quickly. This is even more true for the principle of planting one plant per pot.
The materials
As you can see in the photos, we meet often the wood. This can be explained in two ways:
- First of all aesthetically, it leads to natural side more pleasant when you find yourself surrounded by concrete buildings.
- Then it’s a lightweight materialit will therefore be easier to provide the height and avoid overloading the roof.
Collective councils
When you organize, you have to organize everything well to be able to do it hide from neighbors a little too close preserving the most beautiful views and the clearest.
Since we are often exposed to direct sunlight on roofs, don’t hesitate to install one shading system like a pergola or a canvas.
This exposure is also an advantage if you want to create a vegetable garden!
More photos of the creations
I really like this length arrangementtakes up the fundamental principles that I mentioned in this column: create different spaces to break the corridor effect and thus obtain different atmospheres: a sunny terrace with an unobstructed view, another more intimate and shaded one, a vegetable garden space…

In this arrangement, we zigzag through the plants and once again break the effect of length.

And you, would you like to have a garden on your roof?
Here are some other tips that might interest you
latest posts published

Create an insect hotel in your garden

Find out which lighting to use for each part of your garden

Make a modern fire pit yourself

[Photos] Roof garden terraces

Wooden terrace: which species to choose?
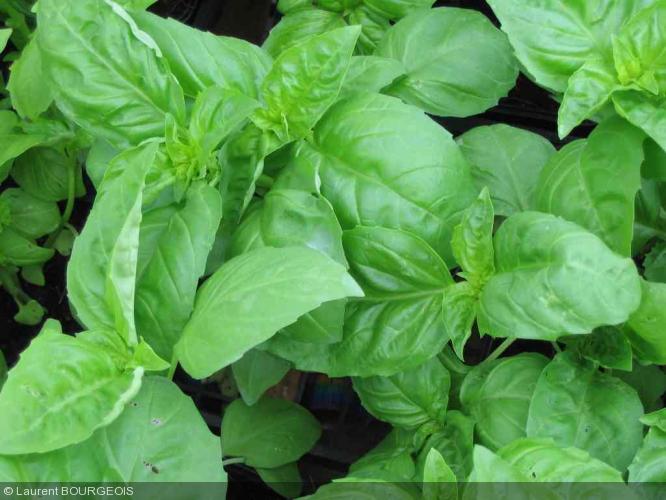
The 10 essential aromatic plants for your garden

4 questions to ask yourself before creating a pond in your garden
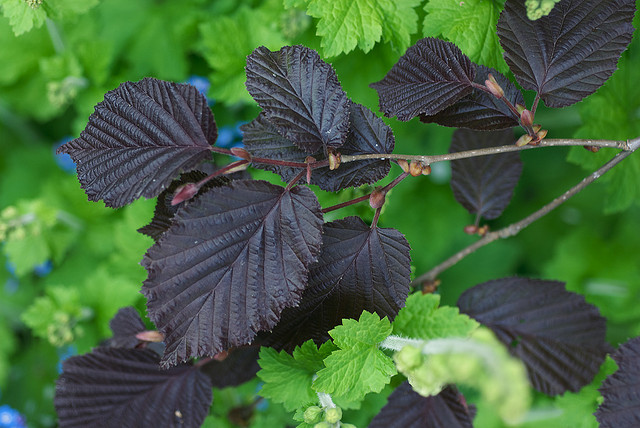
My selection of 15 plants with purple foliage
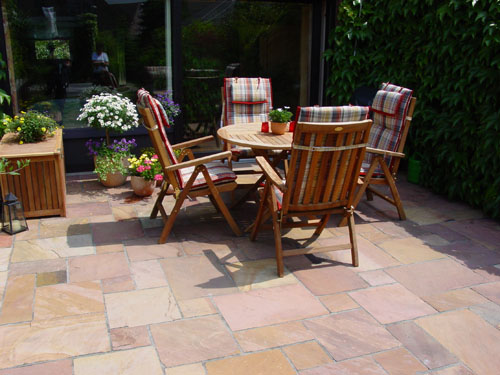
Which natural stone to choose for the flooring of your terrace?
