
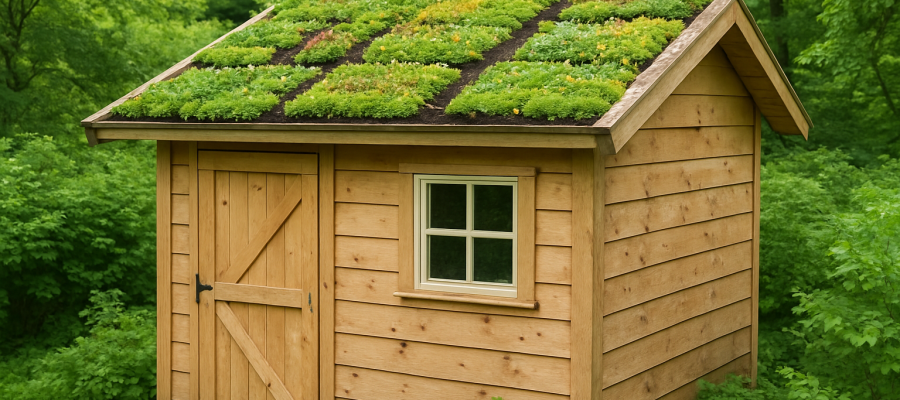
Thanks to this article you will find out how to make a green roof over a small area (e.g. the roof of a garden shed).
We find more and more roof terraces on top of modern buildings or houses. It is not this type of green roof that I will talk about today. I had already talked about it in a previous article (read it) and I told you that this type of creations, which you can walk on and which can be used like real gardens, require a preliminary study on weight and complex techniques which are best entrusted to a professional.
In this guide I will focus on these small garden constructions whose roof is not always beautiful and which can easily be dressing in a vegetable coat. The goal will be first and foremost aesthetic because it will be very pleasant and original to see small plants grow with different amounts of soil, but also thermal. If you own a garden shed, you know very well that in the height of summer the heat is unbearable. Thanks to the green roof the temperatures will be regulated.
We can easily create a green roof on these small installations that are garden sheds, dog kennels or even the garage or carportbecause excess weight is moderate. If you have any doubts about the build quality of your equipment, inform yourself before undertaking this work.
Phase 1: the framework
In order to hold the substrate (soil) that we will place in the next phase, we will create a frame around the edge of the roof. Its height will depend on the thickness of the soil to be installed and this will depend on the type of plants you want to use, but I will come back to this a little later.
The frame can be made of wood (the simplest to make) or you can create a metal one that will resist better over time.
If the roof is very steep, intermediate crosspieces can be added, as if to create boxes and thus retain the earth better (see first photo at the bottom of the article).
Phase 2: waterproofing
Even if your installation already has a waterproof roof, we will reinforce this waterproofing to avoid any subsequent problems. Waterproofing is certainly the most important element because it will be impossible to change it once the substrate and plants are in place.
To create it, we will use a pond cover (EPDM type) which will go up along the frame we made previously.
Step 3: Drainage
Although the roof is certainly sloping, it will be necessary to add a very simple drainage system to avoid water stagnation which would weigh down the whole and risk causing the plants to rot.
You can use a polystyrene plate modeled for this purpose or pouzzolane (light lava gravel). In the latter case it will be covered with a geotextile to prevent it from mixing with the earth.
It will be necessary to drill some holes, at the height of the drain, in the lower part of the frame so that the water can drain up to the level of the gutters.
Step 4: the substrate and the plants
The substrate is the mixture of soil and gravel on which the plants will grow, the latter facilitating drainage. The load can be lightened by replacing the gravel with vermiculite, perlite or pozzolan, all lighter than common stones.
The thickness of the substrate will depend on the plants that you want to put and therefore the result you want to obtain.
You can opt for sedumcertainly the most used plant for this type of roof because it is small and above all extremely resistant, both to heat, drought and frost. It also easily colonizes a space like the one we are creating. In this case, a 5 cm layer of earth + gravel will be sufficient.
If you choose this solution, use rampant sedums. They come in different colors and bloom. They are found both in pots and in the form of fragments (small pieces) to be «sowed» directly on the ground.
This system does not require maintenance, and this is very useful when the roof is not easily accessible (in any case you do not have to walk on the roof, it is not foreseen).
If instead you want something more varied with herbs, bulbs, perennialsa support thickness of 15 cm is required. Make sure your garden shed or garage can support this weight (to limit risk, avoid this thickness on entry-level equipment). When selecting plants, choose very hardy species. Alpine perennials are, in most cases, well adapted to these conditions.
In this case, a little more maintenance will be required on the plants to cut off faded leaves and flowers.
Whatever type of plants you choose, you will need to weed at the beginning, until the planted plants colonize the entire space and regularly check that the gutters are not blocked, otherwise the rainwater would not drain well.
If you perform this installation yourself, the price of a green roof it is very small. These are some starting materials and plants. It therefore ranges from a few dozen to a few hundred euros depending on the surface to be created.
Photos of the creations:
Check out more projects at http://www.livingroofsinc.com/portfolio/small-green-roofs/
Here are some other tips that might interest you
latest posts published

Create an insect hotel in your garden

Find out which lighting to use for each part of your garden

Make a modern fire pit yourself

[Photos] Roof garden terraces

Wooden terrace: which species to choose?
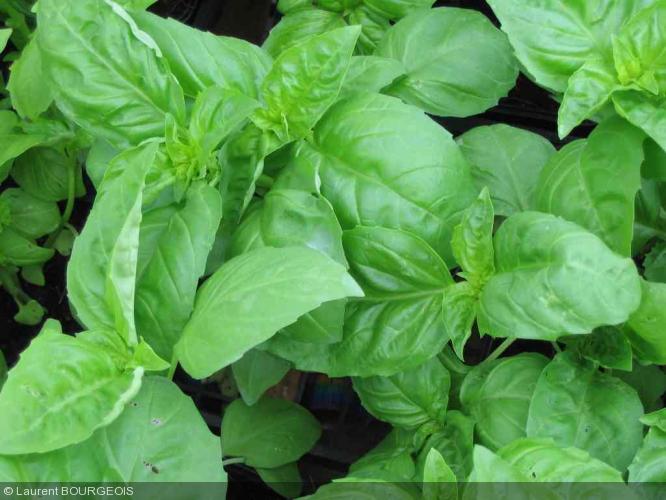
The 10 essential aromatic plants for your garden

4 questions to ask yourself before creating a pond in your garden
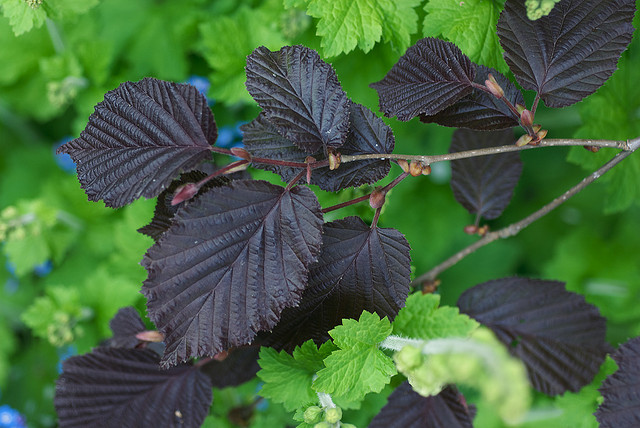
My selection of 15 plants with purple foliage
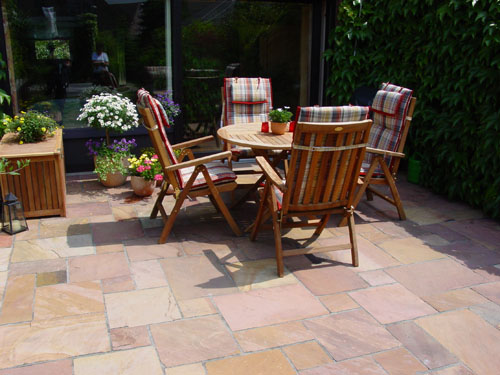
Which natural stone to choose for the flooring of your terrace?
