

This article is a guide to making your own brazier (external fireplace) in modern style.
In spring or autumn we want to enjoy our garden as soon as there is a ray of sunshine. But in the evening the cool comes early and it is difficult to stay outside without feeling cold. One of the solutions to enjoying your land even when the air is cool is to set up an external heating system. There are heated umbrellas like those found on bar terraces, but they are not always very aesthetic. It is also possible to install an outdoor fireplace, called a brazier. With its flames dance in the windit’s magnificent. You can find it on the market (see examples) but you can also choose to create it yourself, and that’s what I’ll show you here.
This article is a translation and adaptation of the ManMade tutorial.

Tools and materials
This brazier is created in concrete. This sturdy material allows you to always leave it outdoors because it will resist the elements and give it a modern and refined look. If you don’t make it too big, you can move it easily. The fire will be created using fuel gel, easy to use and quick to heat. Maintenance will be simple and will only require cleaning from time to time.
For this result, you need :
- A bag of pre-packaged cement and a large bucket for mixing with water.
- Two large bowls/salad bowls to make the mould. The dimensions are your choice: the larger the bowls, the more impressive your brazier will be. In our example, the outdoor tub has a diameter of 43 cm and the indoor one: 38 cm, so the walls will have a thickness of 5 cm. The larger you make a brazier, the greater the thickness you will need to make everything solid.
- Vegetable oil and a brush.
- A medium sized mason’s trowel.
- Heavy objects such as weights or rocks.
- Coarse and fine sandpaper.
- A barbecue-type grill with a diameter slightly smaller than that of the internal tank, in our case: 37 cm.
- Some heat-resistant pebbles/small decorative stones.
- It gels the fuel.
- The necessary safety equipment during construction: glasses, mask, gloves.
- A plastic sheet or an old rag.

The molding of the tank
The shape and size of your brazier will be defined by the two bowls that you will use as formwork for pouring the concrete. You can choose bowls with original or more classic shapes. In the photos, the outer one is a plastic punch bowl and the inner one is a stainless steel bowl.
Making and pouring concrete is not very difficult if you are well prepared: sit on a flat, sturdy work surface (concrete is heavy) outside and place the plastic sheet to avoid getting dirty. Wear gloves and clothing suitable for work.
Coat the surfaces of the molds which will come into contact with the concrete with vegetable oil in a homogeneous way to facilitate subsequent demoulding.

Then you will prepare the concrete. The amount needed will depend on the size of your bowls and therefore your fire pit, but it is better to prepare too much than find yourself running out of cement during construction. In our example, approximately 10 kg of the bag will have been used. Mix the concrete mixture with water in the bucket provided for this purpose. You should get a fairly thick consistency like cookie dough.

Fill the outer bowl half with the cement using the trowel, checking as much as possible that there are no air bubbles trapped. Push the inner bowl and see how high the concrete rises on the sides. If there isn’t enough, remove the inner bowl, add cement and start again. If you do this, make sure there is still oil on the sides of the bowl.
with private bathroom, place weights or rocks to keep everything in place. Pay close attention to the following things:

- When placing the inner bowl, make sure it is centered so the walls are an even thickness.
- Keep the two bowls level for nice symmetry.
- Adjust the internal tub depth and weights to get as much volume as possible, so the gel reservoirs are lower than the rim, while still maintaining the correct thickness for resistance.
Deposit have a nice smooth appearanceit is necessary expel air bubbles which can become trapped in the concrete. To do this, you can vibrate everything so that small bubbles rise to the surface. To create these vibrations, use a motor or power tool.
Let the concrete dry depending on the instructions on the packaging and the thickness of the walls created, 48 hours are generally required.
The finishes of the tub
When the cement has hardened, you can delicately remove the small bowls that act as moulds. Tap lightly with a rubber mallet and remove first the inner bowl, then the outer one. Be careful when handling the concrete tub thus obtained, it is heavy.
Use coarse sandpaper to clean the edge and then all over to get a rounded shape. It is best to use a mask and protective glasses during this operation due to the dust this step will generate.
Do the same with finer sandpaper eliminate irregularities and smooth everything.


Assembling the brazier
Place the gel fuel cartridges. You can purchase them at some garden centers, home improvement stores, fireplace vendors, etc. They are also found under the name ethanol gel.
Place the grill on it. For aesthetic reasons, it must be below the edge of the tank. The size of the net must be adapted so that the pebbles/stones you place do not pass through and, of course, it must resist heat. If you can’t find one that’s the right size, you can cut a larger one or make your own grill with chicken wire.
Cover the grill with pebbles or small rocks that you have selected. Avoid light colors which will darken quickly and make sure you use a rock that resists heat well, otherwise it may shatter with prolonged use!
Voila, it’s over ! You have created a brazier with a few tens of euros and without too much effort. It will allow you to stay in your garden even after dark!
My advice, alternatives and customizations
We used gel fuel because it is quick and easy to light and burn. But if you prefer the crackle of wood, nothing stops youuse logs instead of gel and pebbles! You can too Transform your fire pit into a barbecue using charcoal and a grill that will rest on the edge.
Finally, if the gray color doesn’t excite you, add a special color to the concrete at the time of its creation. Otherwise, once the brazier is made, you can paint it or cover it with heat-resistant products.
So, are you trying to make your own fire pit?
Don’t have time to prepare a fire pit yourself? Here are the models available for purchase
Here are some other tips that might interest you
latest posts published

Create an insect hotel in your garden

Find out which lighting to use for each part of your garden

Make a modern fire pit yourself

[Photos] Roof garden terraces

Wooden terrace: which species to choose?
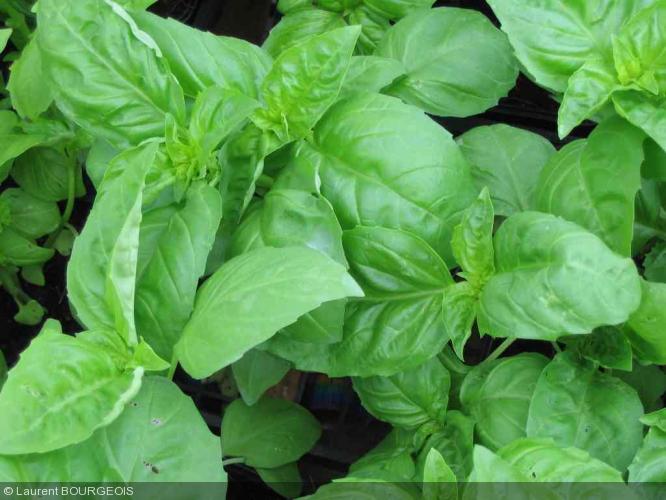
The 10 essential aromatic plants for your garden

4 questions to ask yourself before creating a pond in your garden
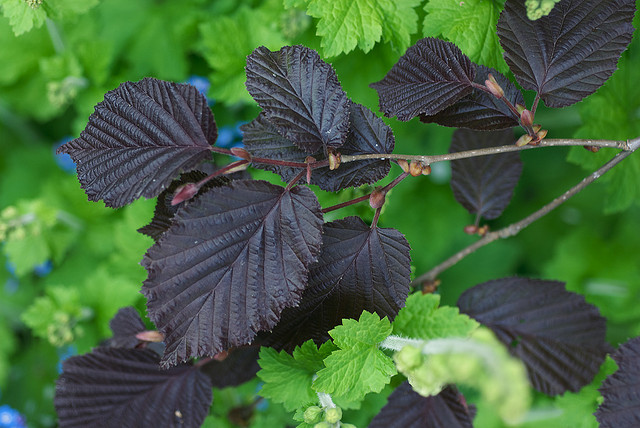
My selection of 15 plants with purple foliage
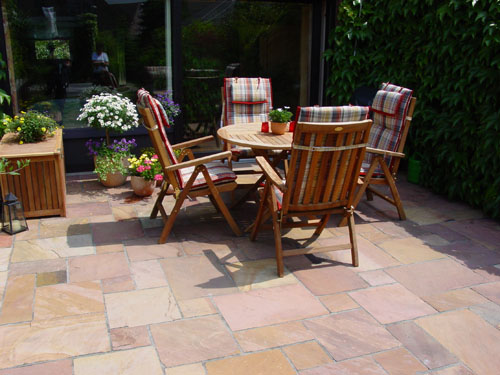
Which natural stone to choose for the flooring of your terrace?
