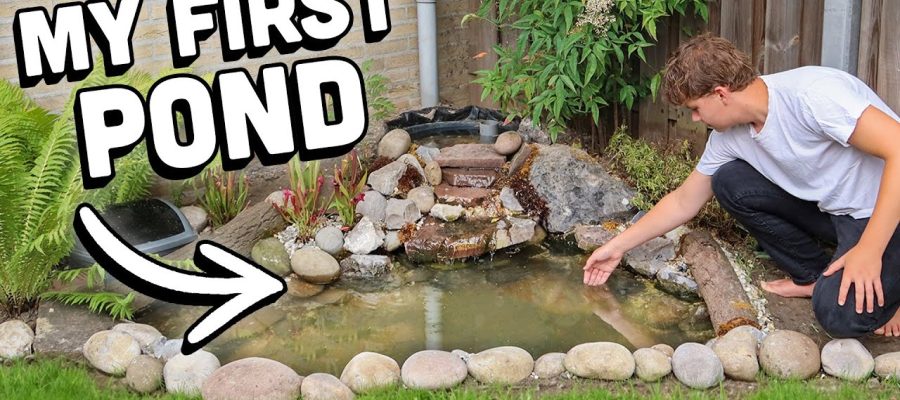
A pond immediately gives every garden a heavenly atmosphere. Small bodies of water with attractive plants not only visually enhance a property, but can also become a place of peace and relaxation when the weather is nice. And the best thing: you can create a garden pond yourself. Perfect for those who want to tackle a compact construction project in a weekend. We will explain to you step by step how to make a garden pond and what you should definitely pay attention to when planning and designing it.
The right location for your garden pond
Every construction project begins with detailed planning. If you want to create a garden pond, you should first think about a suitable place. A prefabricated pond, for example, can easily be set up near the terrace. This means you always have the idyllic waters in view. Natural or animal-friendly ponds do best in a more secluded spot in the garden, as they attract many animals and insects. Do you have a sloping property? So you should make sure to create your pond at the deepest point. The following also applies: a position is optimal if it is not exposed to the sun for more than six hours a day. While sunshine is important for the growth of aquatic plants, too much sun can encourage the growth of algae.
Summer is a great time to spruce up your yard. In our blog post “Wellness oasis in your garden: a place of well-being and relaxation” you will find out how to make your garden an idyll.
Determine the shape and size of the pond
In the next step you have to plan the shape and size of your pond – and perhaps you also want to highlight the pond with suitable garden lighting? The garden pond should ideally blend in well with the rest of the garden decor. Conversely, this means: do you have a modern and architectural garden? Then we recommend elliptical, circular or rectangular variants. In a natural garden, however, it is better to rely on natural and more curvilinear contours. The size of your pond is also completely up to you.
Our advice: Just as with our instructions for building a romantic garden wall, depending on the construction effort and the desired dimensions you should obtain a building permit. The best way to do this is to contact the relevant building authority.

The optimal time to create a garden pond
If you want to create a garden pond, it is best to do it in spring. The period from mid-May to mid-June is ideal for these garden projects. Then the ice saints – the last cold nights before summer – usually end, so the plants are not damaged before they are fully grown. However, the sun appears often enough to provide them with strength.
Create a garden pond: prefabricated pond or in-line pond
How do you want to create your garden pond? A key distinction is made between lining ponds and prefabricated ponds. Both have advantages and disadvantages.
The prefabricated pond – quick and easy
Would you like to realize your dream of a garden pond in a short time and with little effort? Then we recommend the prefabricated pond. In this variant the garden pond is created in the form of a special tub or pond tub. These come in a wide variety of sizes and shapes. Furthermore, shallow, marshy and deep water areas are already specified. With the right technical equipment, even small fish can live in a prefabricated pond. The disadvantage: Here the plants usually take a little longer to grow. Our advice: Would you like to create a small garden pond that contains no more than one cubic meter of water? Then we recommend the prefabricated pond.
The aluminum pond – for a natural garden biotope
If you want to build a garden pond in a short time and with relatively little effort, a prefabricated pond is a good choice. Individualists, on the other hand, should consider a pond with a malleable liner, but also consider the additional time needed. Whichever option you choose, we have instructions on how to make your dream of having a garden pond come true in just a few steps:
Creating a garden pond: step by step instructions
1. Dig a pond trench
The first step is to dig the pond trench at your chosen location. To do this, mark the outline of the pond. If you want to use a finished pool, you should use it as a template and draw around it. With an aluminum tin you have a little more freedom and can mark the shape you want as you wish. In any case, pay attention to the different areas of the pond and their depth. Now you can dig the grave.
Our advice: Dig the deepest area first. Then model the swamp area and then the edge of the swamp. If you use a pond tub, also keep in mind that the pond pit should be approx. 10cm wider and deeper than your bowl.

2. Fill the sand foundation
After digging the pond pit, you must first remove all accessible stones and roots. These can damage both the bottom and the lining of the pond. Then lay out a protective pond liner that protects against pointed or sharp parts in the ground. Then cover the pit or fleece with a layer of approx. A layer of sand 10 cm thick and pat or compact it. The sand layer forms the basis for the garden pond. It also makes it easier to align the pond.
3. Insert the tin bowl or lay down the pond liner
Now you can insert the tin bowl and align it with a spirit level. Or you can fit the film to your pit. Be sure to pull the folds of the film taut and position them securely so no debris can build up underneath.
Our advice: Now fill the pond one-third with water. Also make sure it is approx. 5 cm higher than the rest of the garden. This will prevent the shell from floating.

4. Flush the pond tank or weigh down the sheet with stones
Is the pond bowl aligned correctly? You can then fill the space between the pond pit and the pond tray with sand and compact it with plenty of water. This compacts the soil well and prevents the pond basin from sinking later. Pay attention to the level regularly. Is the pond still straight?
With a lined pond, you now have to put weight on the liner so it doesn’t get washed away when it’s full. This is best done with stones placed both at the bottom of the pond and in the pond areas. The edge of the film should also be weighted with stones. Coarse-grained gravel is often used here, which gives the pond a natural look.
5. Plant the pond and let water in
The next step is to plant the plants of your choice in the pond. This should be done before letting water in. Individual aquatic plants can be placed in the pond using the plant baskets provided. Just make sure you choose the right plants for the right areas of the pond. In general, a distinction is made between a humid or riparian zone, a marshy zone, a shallow water zone and a deep water zone.
Once the plants are planted, the pond can be completely filled with water. There are various possibilities for creating the pond edge, for example stones, gravel or other plants. Another option is to preserve the turf while digging the pond pit and reinsert some parts of it.
6. Creating a small garden pond: the right technology
Do you want to fish in your garden pond or water feature? For this purpose, technical aids are necessary. In principle, any natural pond can do without technology because the aquatic plants, insects and bacteria it contains ensure biological balance. This, however, is not the case with artificially created garden ponds.
For example, in summer garden ponds tend to form algae and slime due to sunlight. A pond filter that cleans the water can help here. To ensure that the fish receive enough oxygen in winter, an ice device must be used in time. And for water features it is recommended to install a pump at the bottom of the pond.
Important: Before placing animals in the garden pond, you should find out in detail from specialist retailers about the correct keeping conditions.
latest posts published

Create an insect hotel in your garden

Find out which lighting to use for each part of your garden

Make a modern fire pit yourself

[Photos] Roof garden terraces

Wooden terrace: which species to choose?
The 10 essential aromatic plants for your garden

4 questions to ask yourself before creating a pond in your garden
My selection of 15 plants with purple foliage
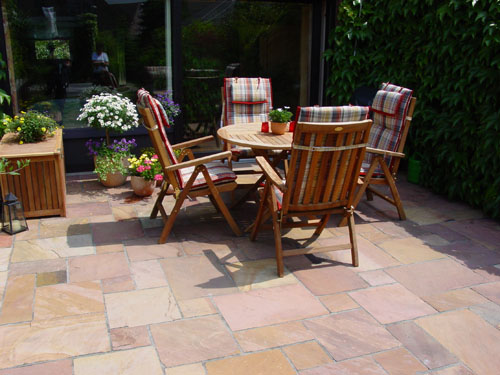
Which natural stone to choose for the flooring of your terrace?